 |
Welcome to SpeedLearnGuitar.com
In the pages of this site you'll find great information and lessons on learning to play guitar, as well as solutions to issues you'll face along the way.
We provide basic learn guitar lessons that you can do at your own pace, when you want, and where you want.
Let's get started. First we'll cover the very basics of playing guitar, then we'll move on to some more complicated aspects of learning guitar.
SITTING TO PLAY THE GUITAR SITTING PROPERLY AND HOLDING THE GUITAR
LEARNING GUITAR BASICS – WHERE TO SIT, HOW TO HOLD, NAMES OF THE STRINGS, AND HOW TO TUNE IT!
So you would like to learn to play guitar. Well that is easy if you are willing to dedicate time and energy into learning the basics. Many people truly believe it is as simple as picking up the instrument and just playing – but this is false. It is very critical to know the basics first. Like, how to sit and actually hold the guitar without any discomfort.
Watching others who have been playing guitar for years can make playing look easy and comfortable. The truth is, these people were once just where you are now.


- Learning to sit appropriately where one does not put strain on their back and can hold the guitar comfortably is of the utmost importance.
- You will want to keep your back straight and sit toward the front corner of the chair.
- If you play right-handed guitar you will want to be on the corner facing your left side and the opposite for left-handed players. This allows for flexibility and motility while still holding good body mechanics.
- You may want to just sit holding the guitar for a while till you find a position that is most natural and comfortable for you individually. This builds posture before you even start to play.
- When holding the guitar you want your wrists as straight as possible.
- Many people find it easier to start with a classical guitar and the plastic strings at first, rather than going right for the steel strings. This makes practicing much easier on the wrist joints.
- It is also important to just sit in position with the guitar for a while immediately prior to playing while you are learning for a while - to get the feel of the instrument before playing.
- You will want to build up the strength of posture to sit in a proper position with good body mechanics for at least an hour and a half. Note any pains or strains you feel and then adjust yourself appropriately. You will want to keep repeating this till nothing hurts and you are fully comfortable.
- It is a very good idea and highly recommended to perform some type of hand stretching prior to playing. This will help loosen your joints and get your hand and wrist muscles warmed up. This makes playing and practicing much more comfortable.
Many people do not sit down and practice enough. It is the practicing of technique more than jamming that makes the musician great. You need to find a position and stick with it. If you look at any professional musician, they have spent the majority of their playing life focusing on technique and position. The way one holds a guitar will be the biggest influence in how they play and learn.
WARMING UP EXERCISES
Many musicians do not do the proper warming up exercises and find they get more cramping and tire much easier. Playing a guitar requires the whole body and a warm up is a good idea. You will want to stretch the neck, back, arms, and hands at least before sitting down to practice.
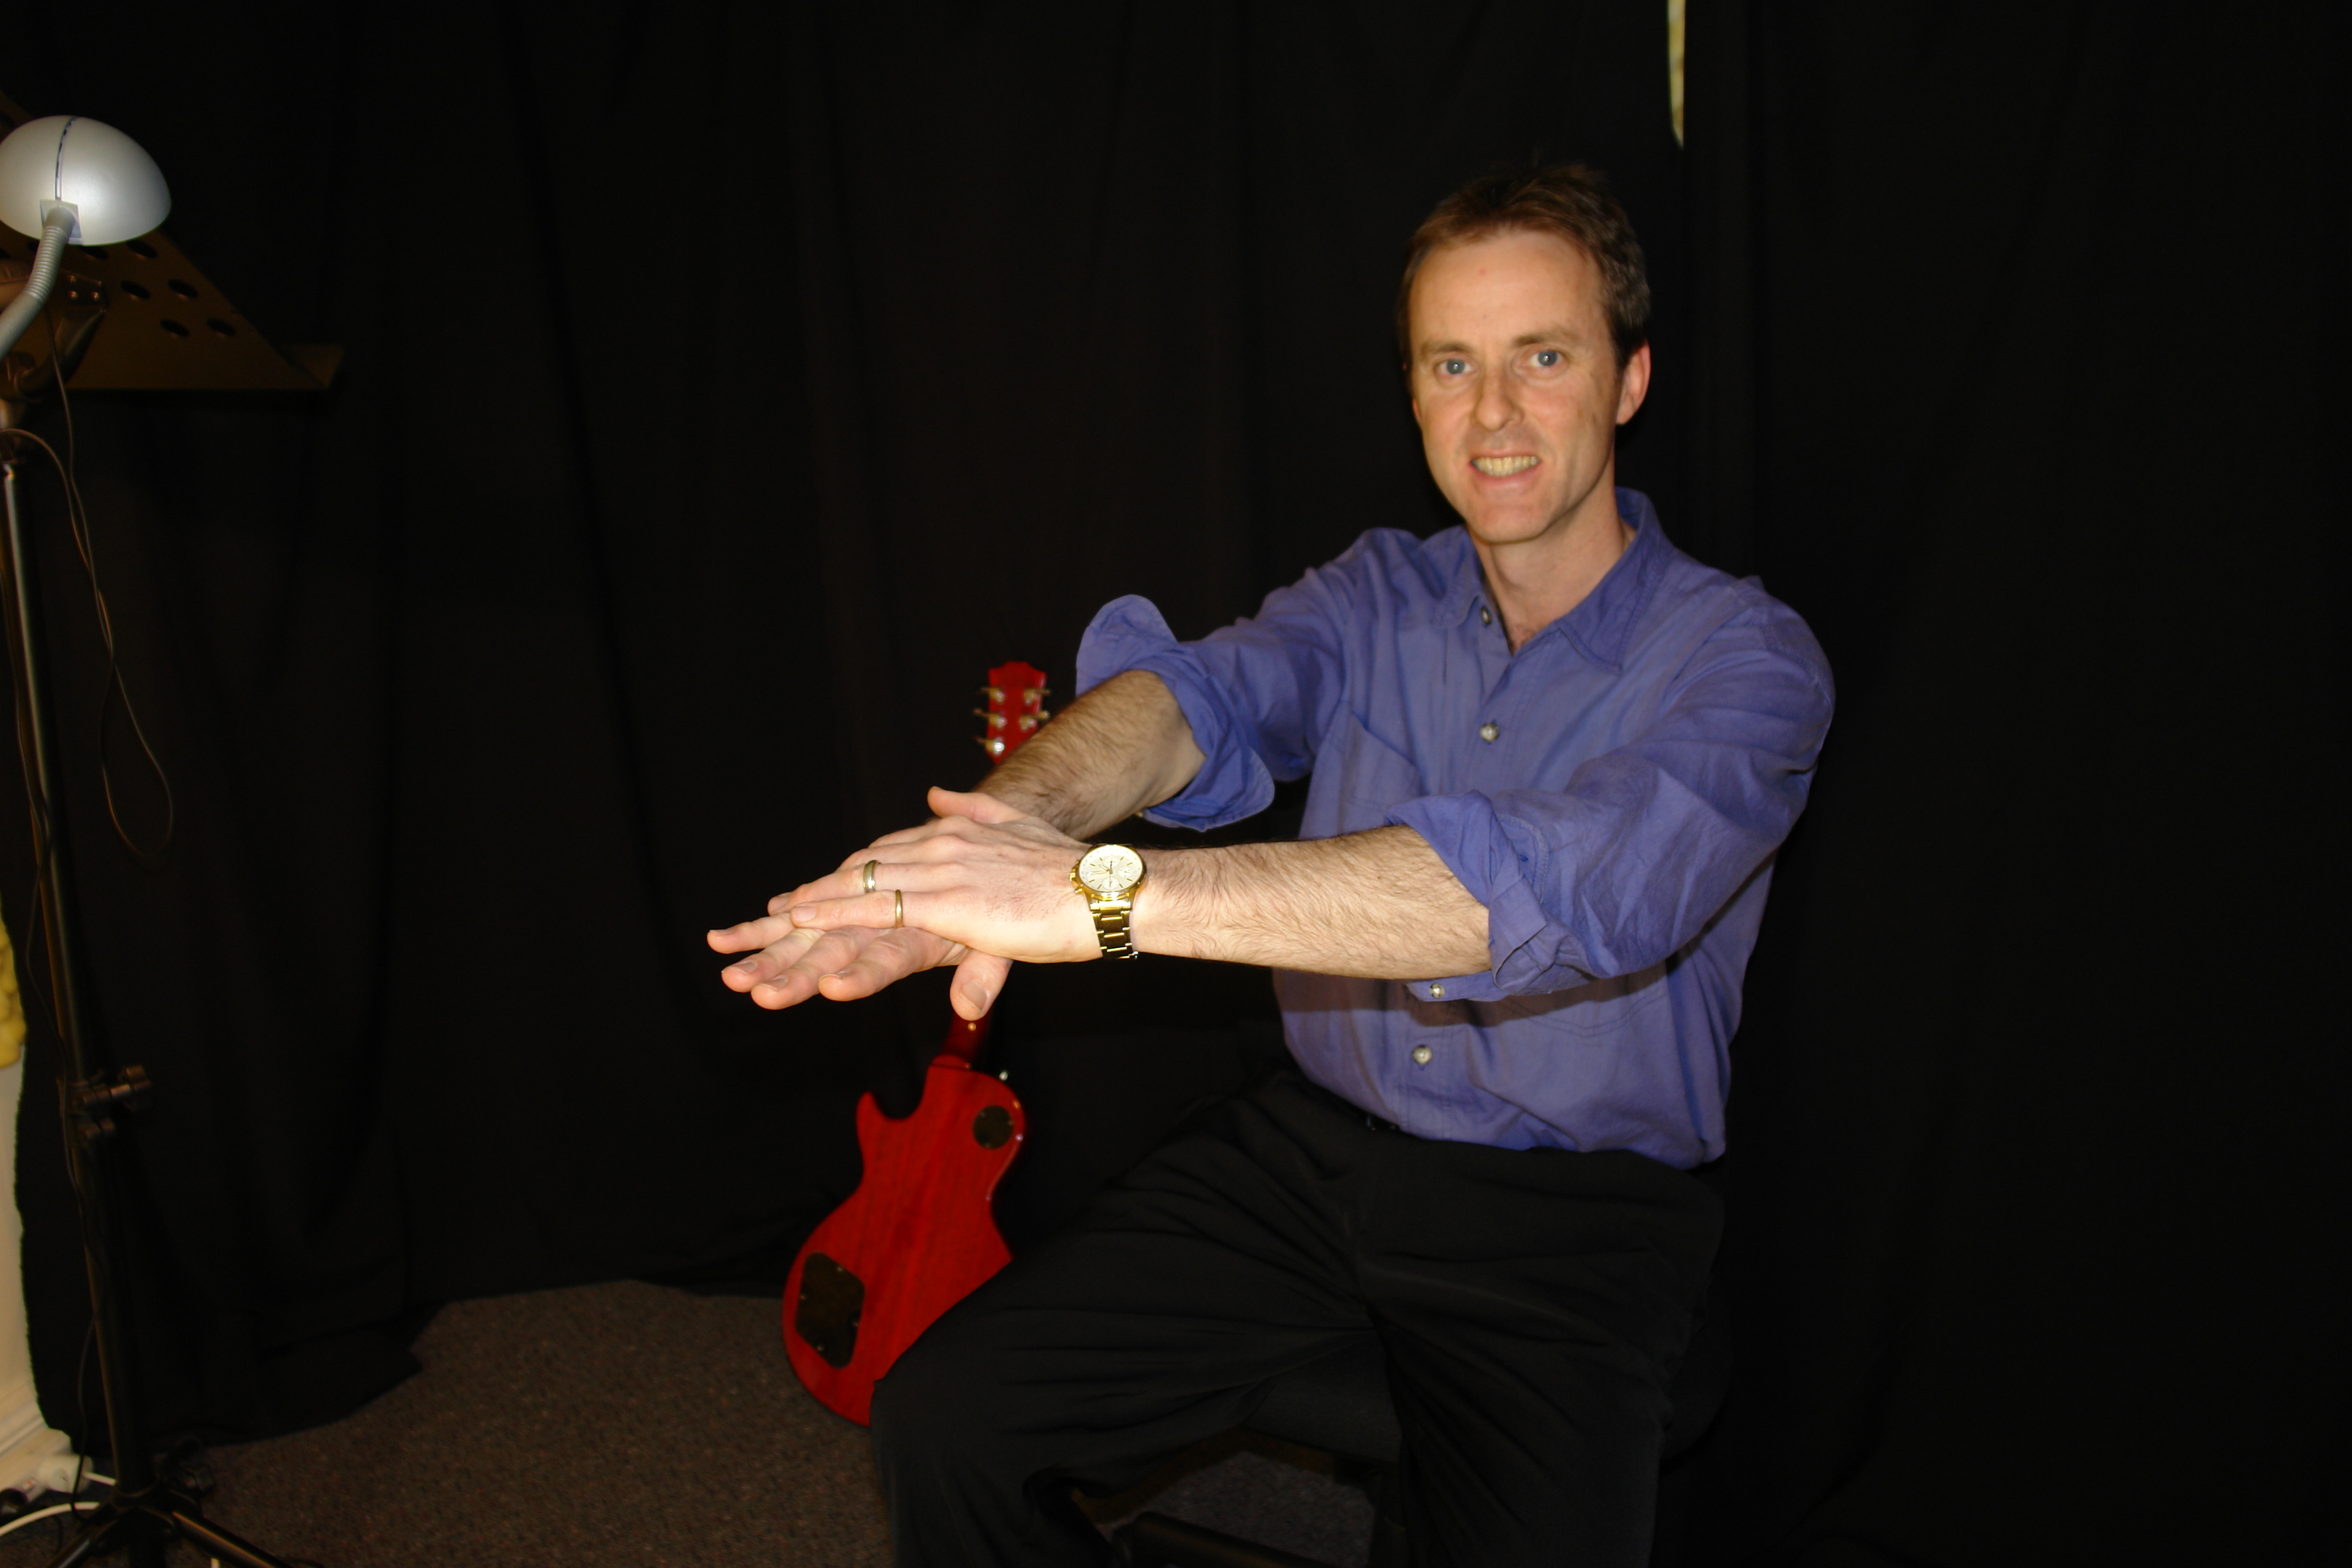
Stretch 1 - Flexion and Extension:
- Hold your right arm out straight in front of you.
- Take your left hand and gently press your right hand down. This will stretch the outer forearm.
- Hold this for 5-30 seconds and repeat 5 times.
- Then use the left hand to press the right hand back. This will stretch the inner forearm.
- Hold for 5-30 seconds and repeat 5 times.
- Repeat with the other arm.
Stretch 2 - Hand and Finger Stretches:
- Using both hands, simultaneously spread open all the fingers and hold for 5-30 seconds.
- Then close the hand into a tight fist and hold for 5-30 seconds.
- Repeat 5-10 times. This will warm up and bring blood flow into the fingers.
Stretch 3 - Thumb Flexion and Stretches:
- Hold both hands palm up in front of you.
- Bring your thumb over the palm to touch right under the pinky.
- Do this with both hands for 5-30 seconds 5-10 times. This will help to limber up the thumbs.
Stretch 4 - Neck Stretches:
- Slowly roll the head in a clockwise direction 5 times.
- Repeat in a counter-clock direction 5 times.
- Place the right arm onto the left shoulder.
- Using the left hand gently pull the right side of the head towards the left. This will stretch the neck muscles.
- Hold for 3-5 seconds.
- Repeat on the opposite side of the neck.
- Do a total of 5-10 of these stretches on both sides.
Stretch 5 - Shoulder Rolls:
- Roll both shoulders in a forward motion 5-10 times.
- Repeat rolling the shoulders in a backward motion.
Stretch 6 - Back Stretches:
- Standing with feet shoulder length apart and hands on hips, bend at the waist to the left.
- Hold for 5-10 seconds and repeat 10 times.
- Then bend at the waist in the opposite direction and repeat.
- After both sides have been stretched perform torso twists.
START TO PLAY!
Now the bit you’ve been waiting for! Now that you have warmed up, you will want to sit with the guitar and play something easy. Simple notes and cords to get into the feel of the instrument at first are more appropriate then diving right into hard pieces
You will be able to practice for as long as you would like but remember to take a 5-minute break every 45 minutes to shake out your muscles.
KNOWING THE NAMES OF THE STRINGS AND HOW TO TUNE THE GUITAR
Each string on the guitar is represented by a name and a number associated with it. You will want to have the names and numbers memorized before you move onto anything more challenging. This will be the key to reading music as you begin to expand to more difficult pieces.
THE STRINGS
By holding the guitar as if you are playing the strings are ordered from bottom to top.
- The string closest to the ground is string 1 and is the high E string. It has the highest pitch and is the thinnest of the 6 strings.
- String 2 is the B string and the next in line as you make your way up from the floor.
- String 3 is the G string
- String 4 is the D string
- String 5 is the A string
- String 6 is the low E string. The 6th string has the lowest pitch and is the thickest.

THE NECK
- The guitar neck is divided into sections called frets.
- For each fret there is a specific musical note.
- As you move down the body of the guitar the pitch gets higher and higher.
- For each guitar string there is a precise open pitch. When you move down the neck each fret, the notes will become one semi pitch higher in tone than the last note.
- Once you have reached the 12th fret you are now back to the same note as the open string plucked, but one octave higher.
- Then as you move down in frets the notes repeat but one octave higher for each note.
- For example the 15th fret has the same note as the 3rd fret, etc.
It is crucial to know what notes are being played and where they are on the neck of the guitar. This will help you out tremendously when trying to read music and learn specific chords or songs. It takes time and practice but it will be worth the time and dedication in the end.
TUNING THE GUITAR
Another important lesson to learn is how to appropriately tune your guitar strings. They need to be just right. If they are too tight they can break. If too loose they will not be at the proper pitch. For many first time players, it feels so impossible to play anything that sounds good! Usually it has only little to do with technique and more to do with forgetting to tune each time you practice. You could be a master at holding your guitar correctly and know every note on there. If the strings are even just slightly off you will never hear something smooth and nice.
Every time that you pick up your guitar you will want to tune it. Most guitars go out of tune quite quickly, especially the more inexpensive variety. You will want to check the tuning as you practice as well. Just playing can mess up the tuning.
When first learning to tune your guitar correctly, do not be surprised if it takes 5-15 minutes. Once you become more accustomed with tuning it will get quicker. You will want to use a reference pitch when tuning each time. You can use a piano, tuning fork, another guitar, or a recorded source to help you get the right pitch. After that one note has been tunes correctly you can use it to tune the rest of the strings.
You can tune the guitar without these sources but you will be off pitch when playing with others. To play with many instruments or other guitar players you should all be in the same pitch. Just because you are in tune with yourself does not mean you are in tune. A reference is very critical for multi-player practicing or performance.
THE TUNING SEQUENCE
- The 6th string is usually the start of tuning and once completely tuned with a reference, will be the standard for the rest of the guitar.
- Each string has notes, count up on the now-in-tune low E string until you find the A note on the 5th fret. You will be able to use this note and compare it against the open 5th or A string to tune it. Because you know that your 6th string is in tune, you can use the A note on the 5th fret of the E string to tune in the open 5th or A string appropriately. When they sound the same to you know you are in tune.
- Play the now in tune 5th string on the 5th fret to hear the D. You will tune your open 4th or D string with this till they sound the same.
- Play the fourth string on the 5th fret to tune your open 3rd or G string. Use the 4th fret of your now in tune G string to tune your open 2nd or B string. Remember you are using the forth fret on this string not the fifth like the others. This string just tunes slightly differently.
- The 5th fret on your B string can now be used to tune your open 6th or high E string. Once you are done with your tuning you will want to check it against a recording of a fully tuned guitar
This will allow for any small fine-tuning you need to do.
 |  |